Quick heads up: This post may contain affiliate links to gear, hotels, flights, or experiences I’ve used or genuinely recommend. If you book through one, I may earn a commission at no extra cost to you. Full disclosure here.
Everything You Need to Know for Seamless Connectivity Abroad: A Novice’s Guide to Airalo eSIM Cards, Featuring Insights from a Recent Trip to Vietnam
From Lonely Planet to eSIM: Embracing New Travel Technology
I hate to come off as an old fart in the opening sentence of a post on tech, but you can’t hide from the truth.
Besides, experience matters.
When I first started out backpacking the world on a round-the-world adventure in 2003, I did so (and for many subsequent years) with nothing more than a Lonely Planet guidebook leading the way.

This later evolved over the years into becoming a slave to WiFi passwords at every hotel, restaurant, and coffee shop and, more recently, to actually buying a little plastic SIM card to slip into my phone to connect to the local wireless network.
As the timestamp above (yes, we used to use those) will attest, it’s been an evolving journey spanning my 20+ years of world travel.
A New Generation of Travel
For a two-week trip to Vietnam in the summer of 2024, I decided to step up my game and purchase my first eSIM plan.
Prior to this experience, I knew very little about what eSIMs were, how to buy and activate one, and what to expect once I set foot abroad and attempted to put my phone to use without the need to connect to the wobbly airport WiFi.
I conducted a bit of research and ultimately purchased a 5GB, 30-day plan from Airalo.
The following is a guide to the setup process, an evaluation of the product and everything I learned along the way.
Quick References: Find the Right eSIM for Your Trip
🇻🇳 Vietnam eSIMs: Seamless connectivity in Vietnam.
🇰🇷 South Korea eSIMs: Affordable and reliable options for South Korea.
🇯🇵 Japan eSIMs: Fast and convenient eSIMs for Japan.
🌍 Local eSIMs: Choose from eSIM options in 200+ countries worldwide.
🌏 Regional eSIMs for Asia: Perfect for travel across multiple Asian countries.
🌏 Global eSIMs: Stay connected across multiple countries.
The Physical SIM Card Struggle: Why I Switched to an eSIM
My last trip to Vietnam was in 2019, which was just prior to eSIM technology becoming popular. On that trip, I purchased a regular, small plastic SIM card from a dodgy street vendor.
After selling me the new microchip, he replaced my phone’s SIM card by ejecting it from my phone and taping it to my hotel’s business card.
I then had to try like hell not to lose the little sucker during the remainder of the 3-week trip.
Perhaps calling that vendor ‘dodgy’ is a bit drastic, as, in all honesty, his SIM card actually worked pretty well.
However, you never know what you’re getting yourself into when you walk into a dark alleyway in any country, let alone a foreign country.
I don’t recall what I paid for that SIM card, but I’m sure it wasn’t the bargain he made it out to be.
Additionally, if you’ve ever tried to open the little tray on the side of your phone to access your physical SIM card, it is no simple feat.
As I prepared for my most recent trip, I debated whether I could just throw away the tiny pin tool that I still have stashed away in my passport case.
Ultimately, with this new ESIM technology, I decided there was little reason to hold on to it.
What are eSIM cards?
An eSIM, short for embedded SIM, is a digital SIM card embedded directly into your device, such as a smartphone or tablet.
Unlike traditional SIM cards that are tiny, physical, removable chips, an eSIM is built into the device’s hardware and can be activated and programmed with a mobile carrier’s network remotely.
Translation: SIM cards are what make your device work and connect to the Internet. eSIM cards are digital versions of the physical chips. Kind of like how e-mail replaced actual letters.
The major benefit of an eSIM card is that you can set it up in the comfort of your own home and allow instant access to the internet the moment you touch down at your travel destination.
For me, this was especially attractive considering that when I arrived in Vietnam, I knew that Grab taxi (Southeast Asia’s Uber) would be the safest and cheapest option to get to my first hotel.
However, to access Grab, you need the Internet. We all know that airport WiFi is hit or miss and that airport vendors charge obnoxiously high prices for everything, ranging from water to SIM cards.
Being able to set this all up from home and then simply be able to switch over to my new Vietnam service in my phone settings from the safety of the plane upon arrival was a game changer.
Why Airalo Was the Best Choice for My Vietnam Trip
First of all, I don’t work for Airalo, and this is not a paid advertisement.
However, if you want to help a small travel blogger out as he tries to grow and continue to publish content, using any of the links in this article would help to do so at no additional cost to you.
Doing My Research
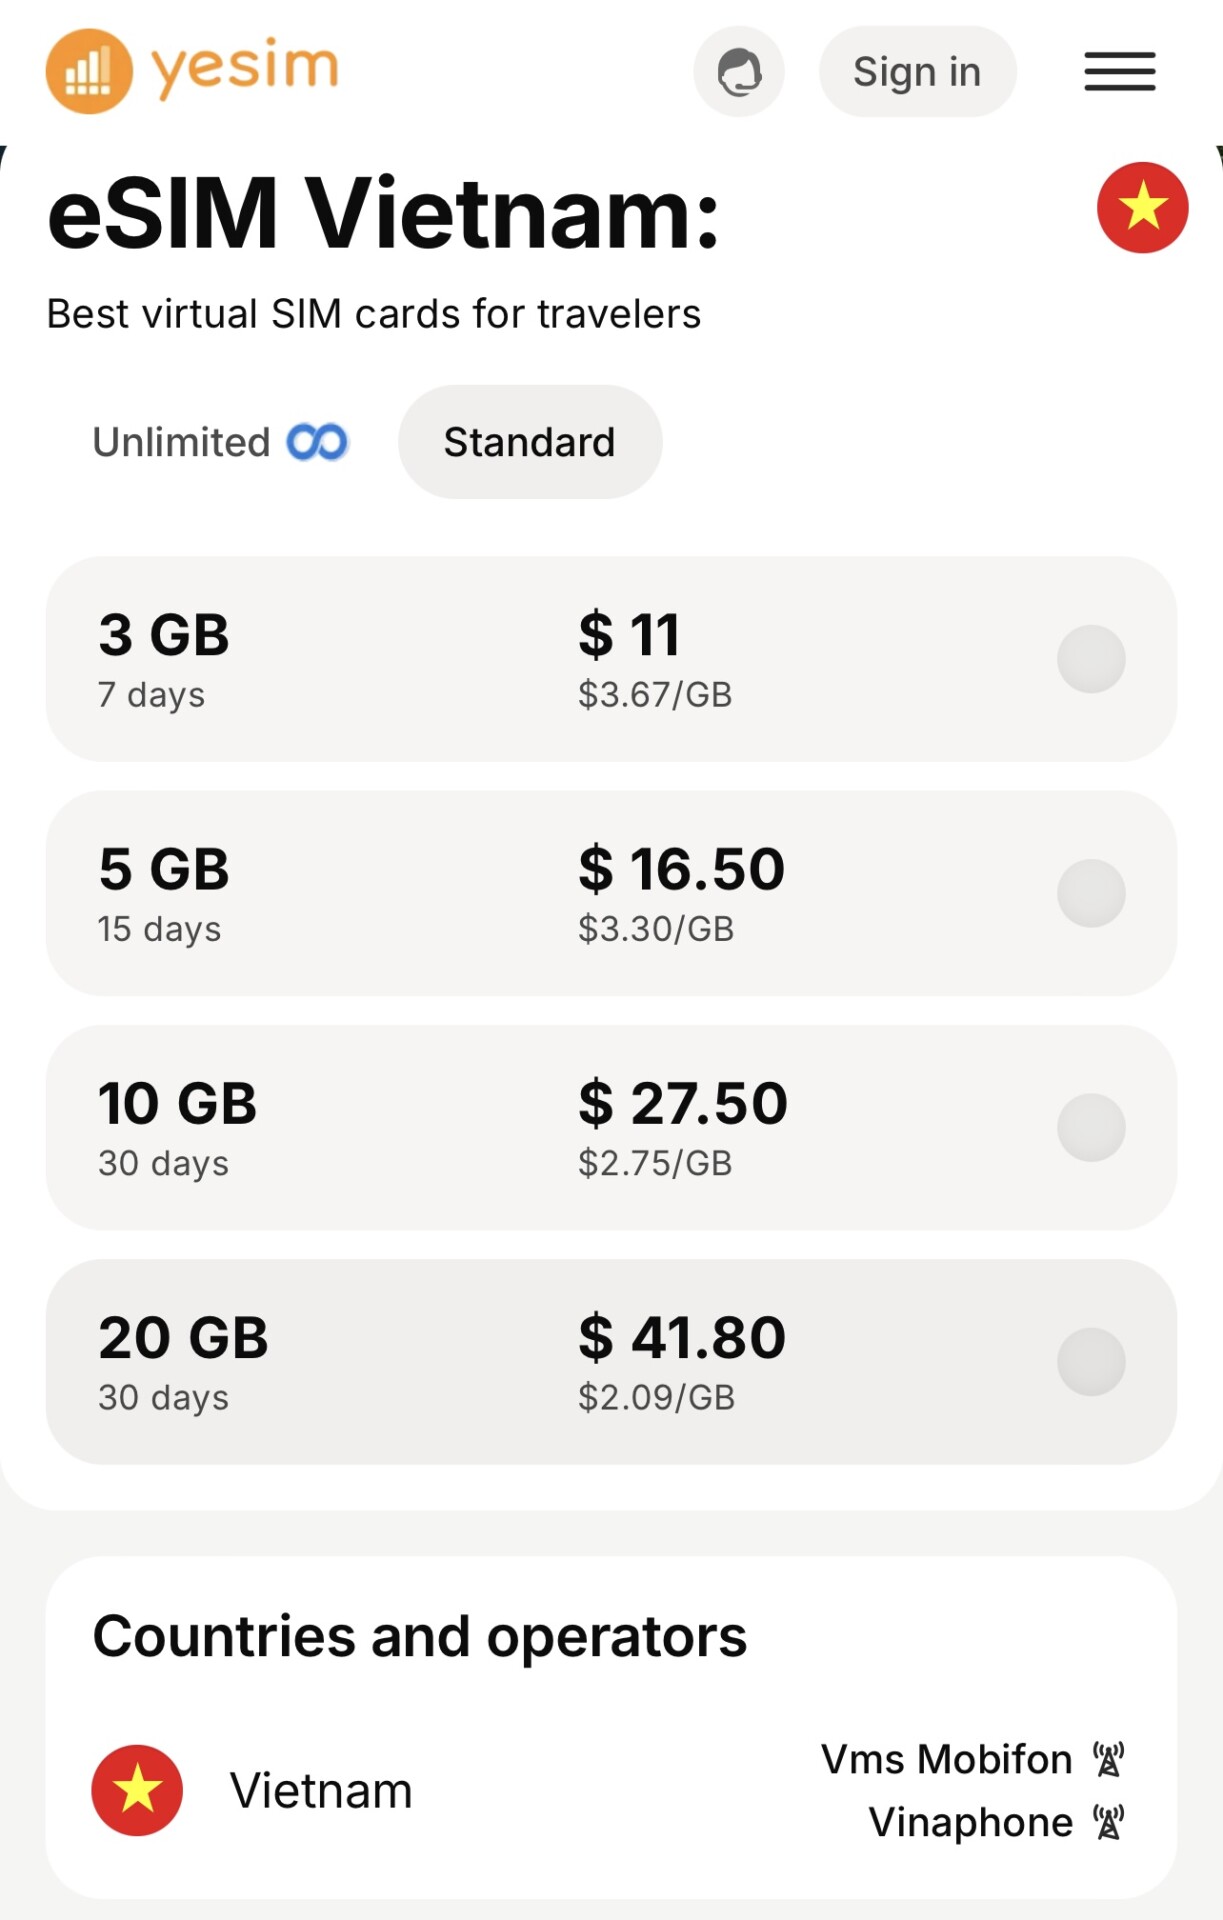
Though I read some good things about Yesim and their unlimited plans, my frugal heart is generally guided by two principles: price and reliability. Airalo checked both boxes.
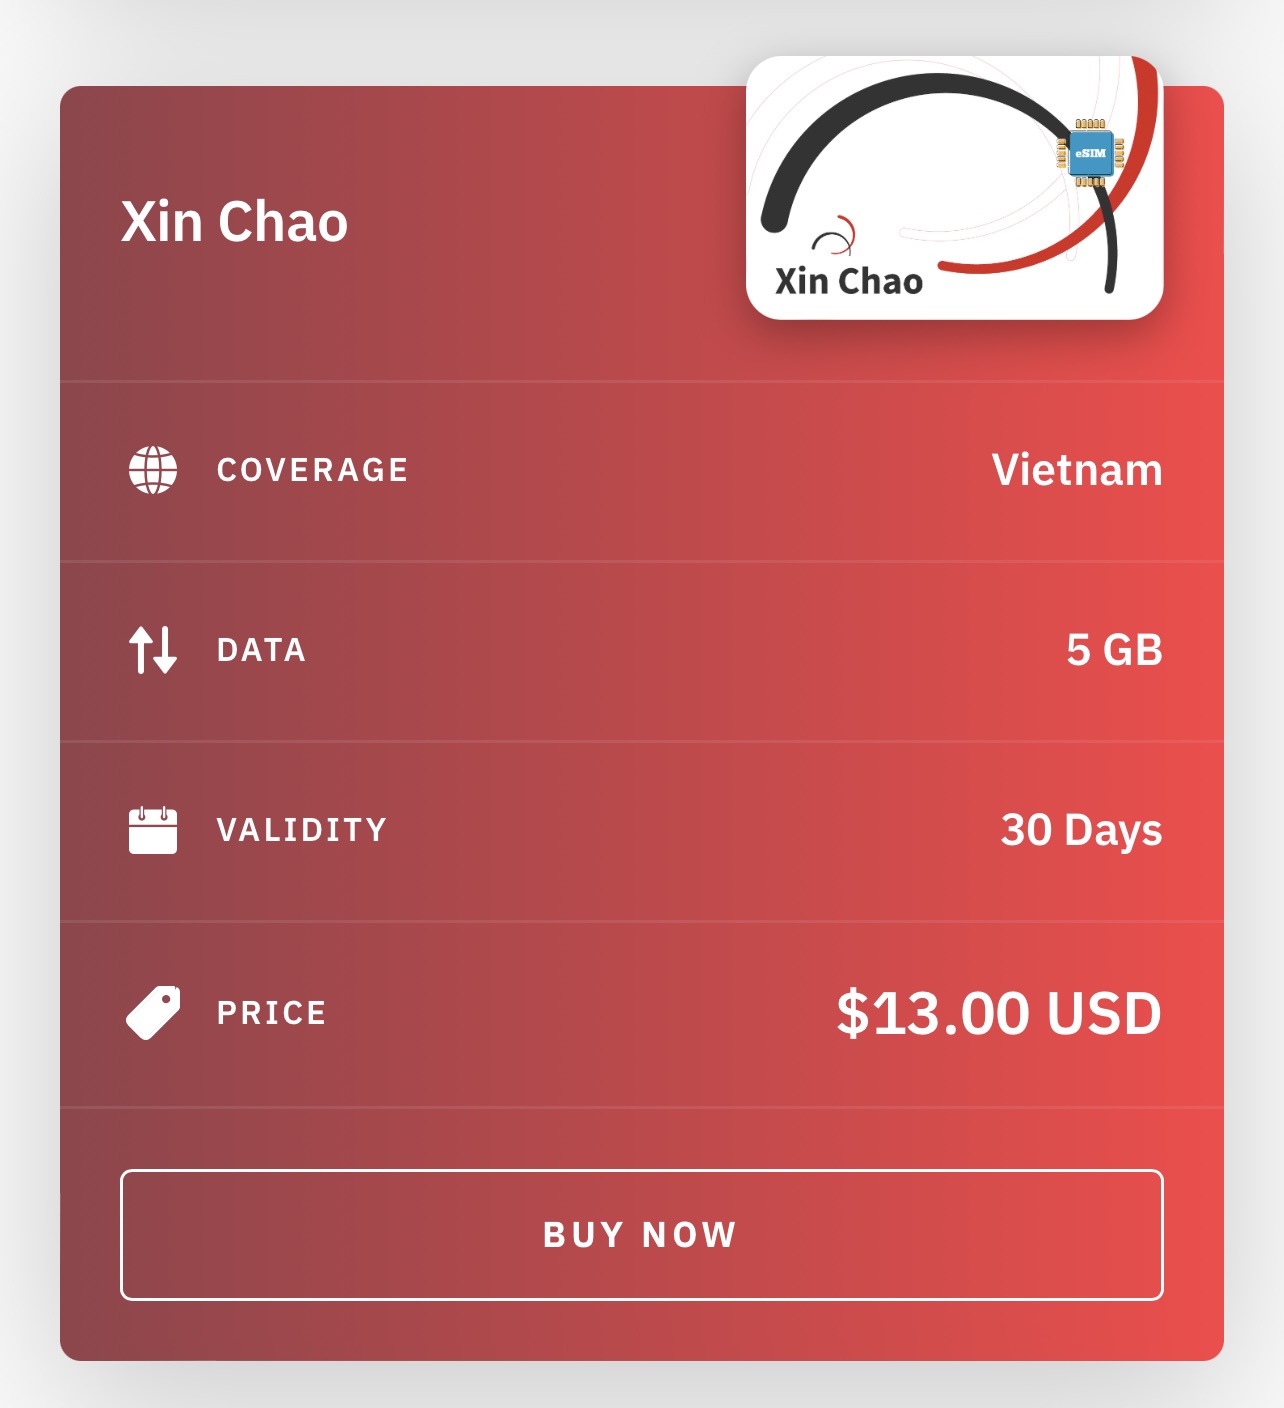
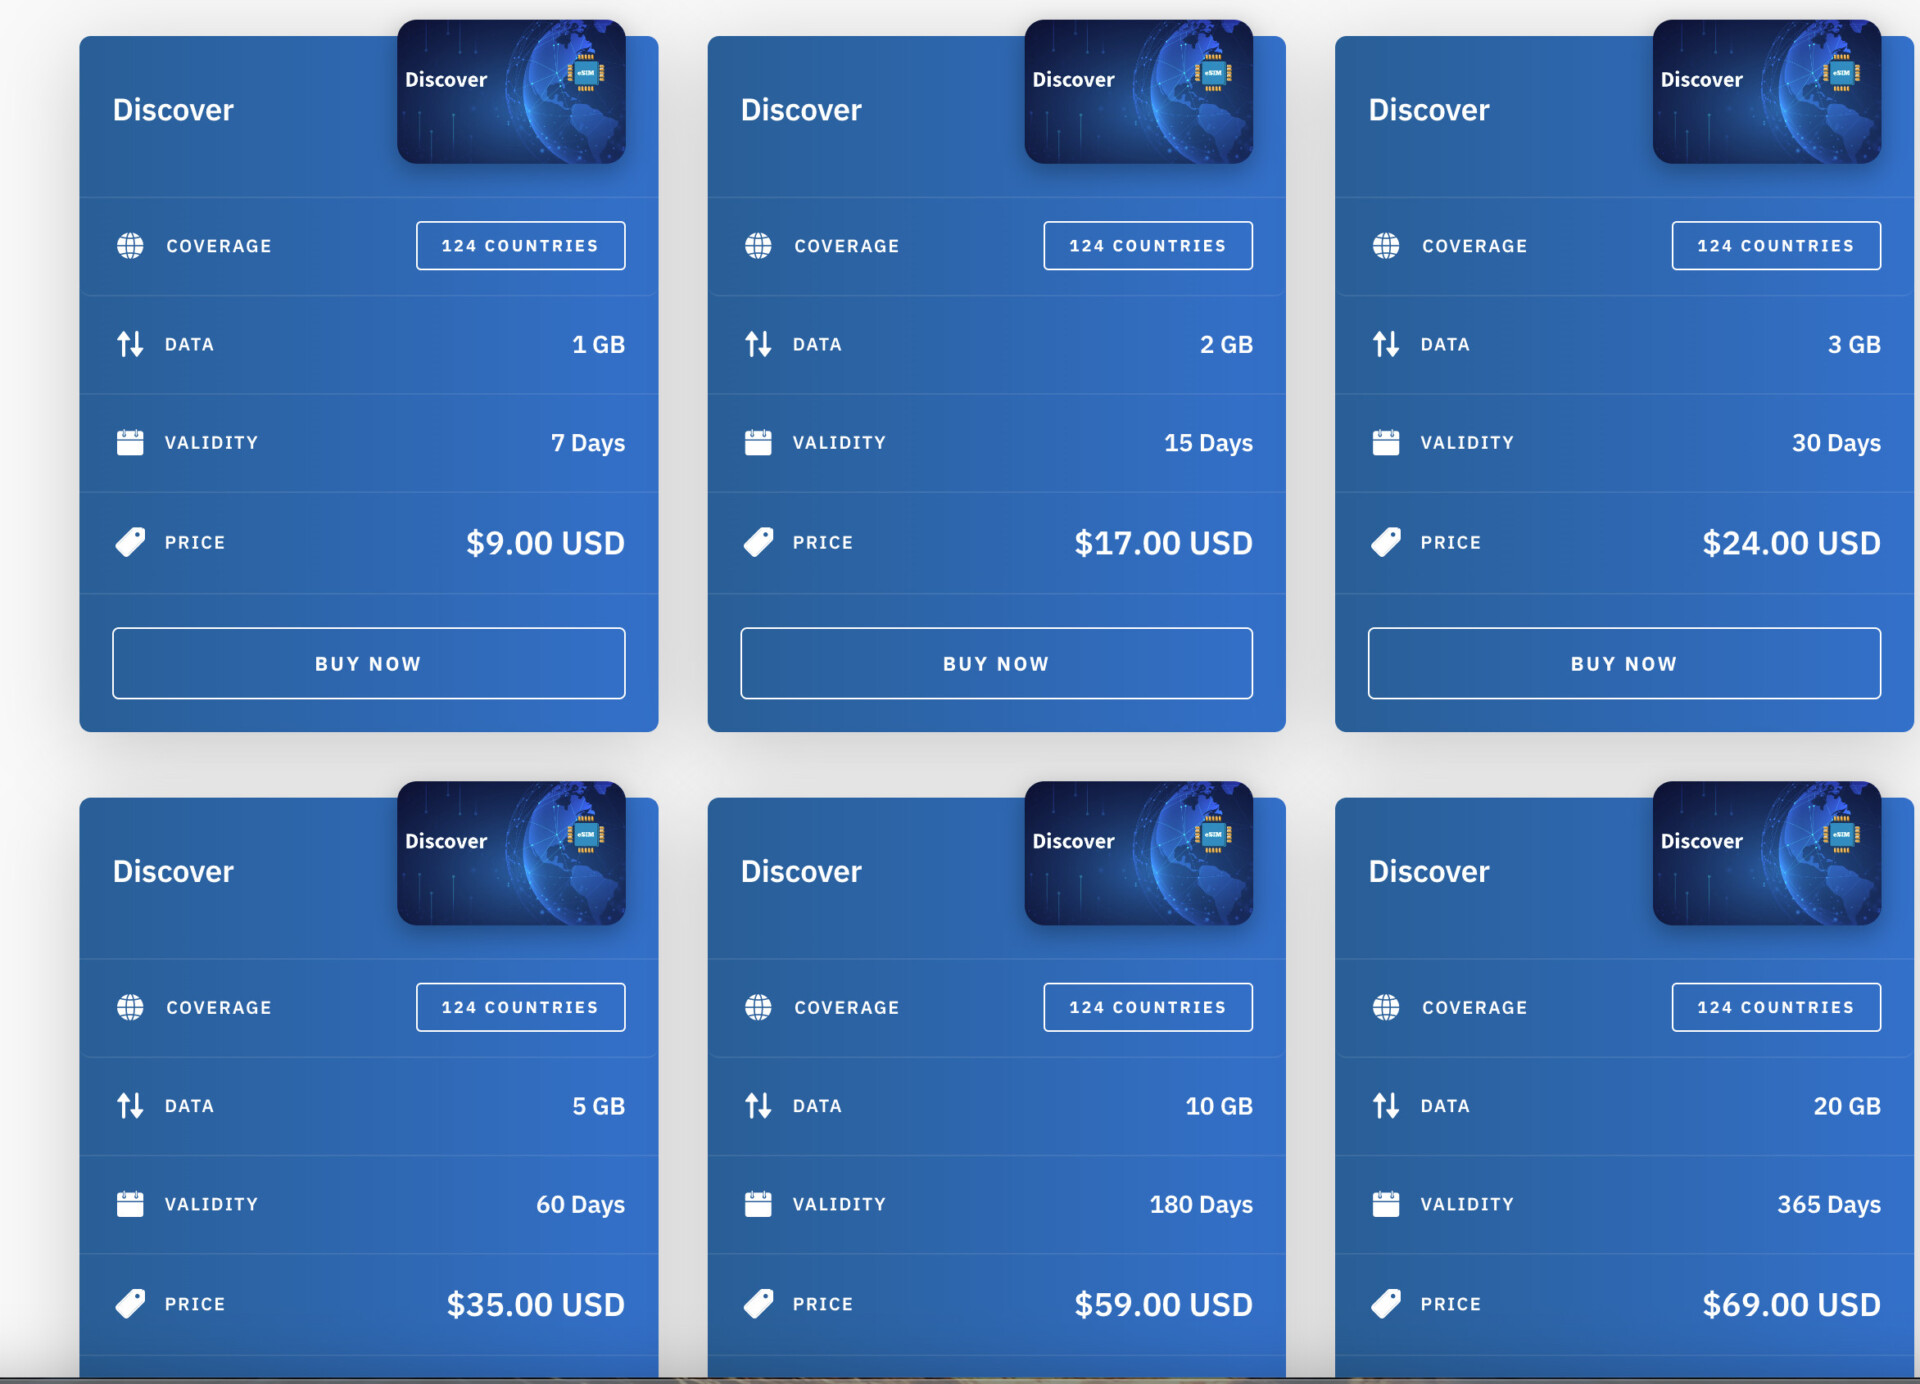
The Airalo 5GB, 30-Day Day-plan that I eventually purchased.
Where do eSIMs work?
The simple answer to this question is ‘nearly everywhere‘. Unless you’re really going off-the-grid, an eSIM will generally work anywhere that has cellular service.
When purchasing an eSIM, you just need to decide which type of eSIM is best for your travel plans.
In my case, for this trip and this article, my travels only included Vietnam. As a result, I just selected Vietnam from the local eSIM screen and was presented with a number of options.
For the remainder of this article, I will focus on Airalo; however, the other major eSIM providers all have similar offerings, plans, and capabilities.
Local eSIMs
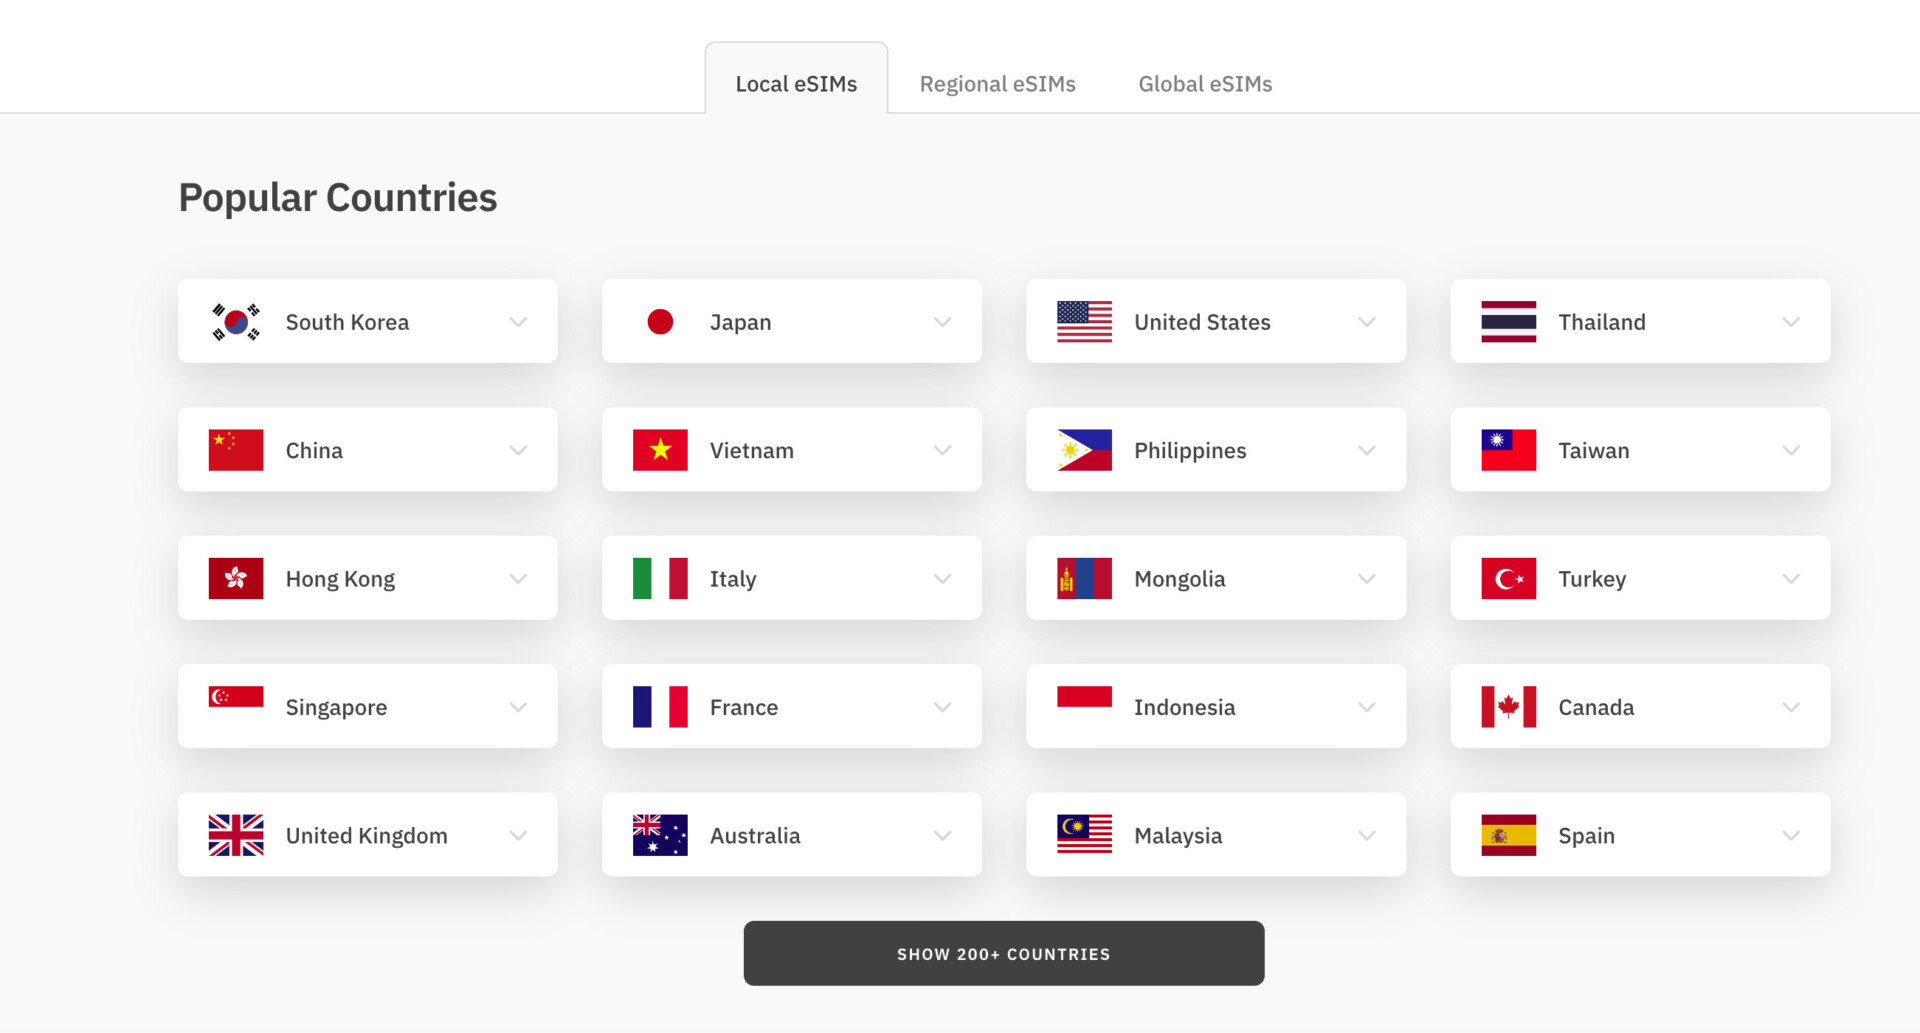
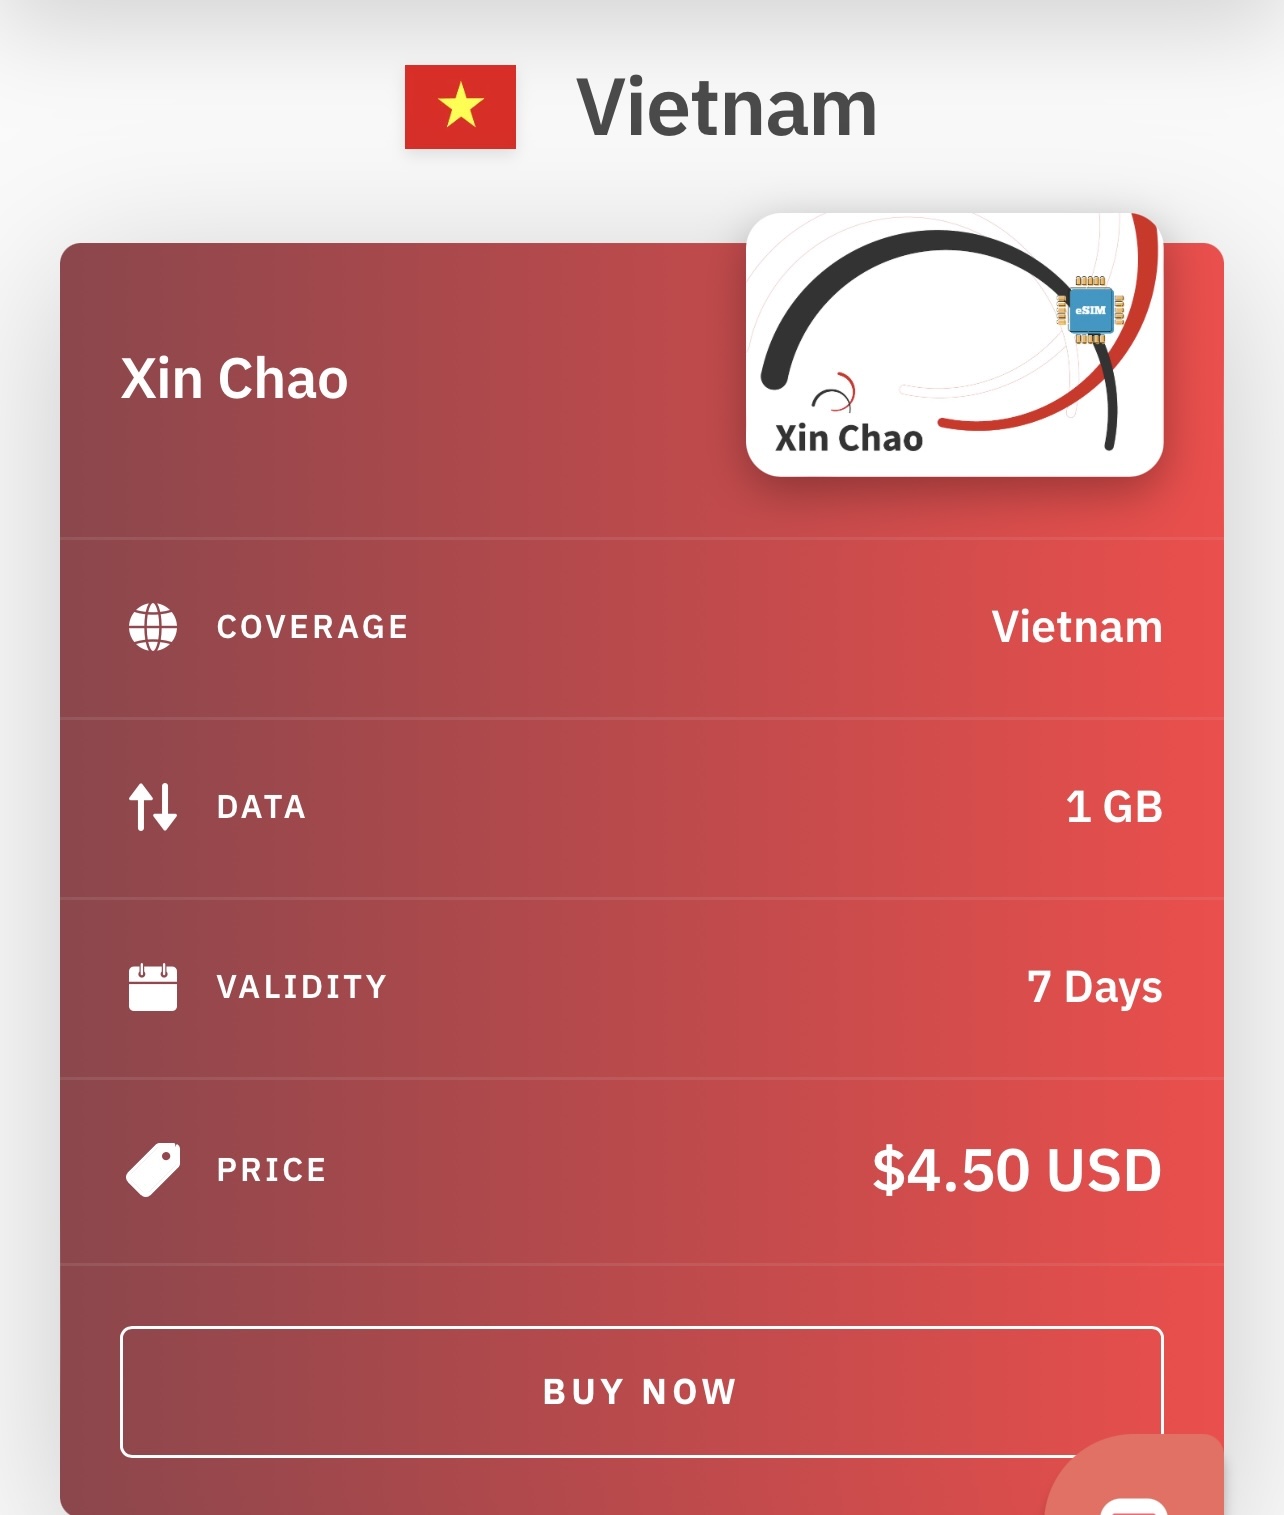
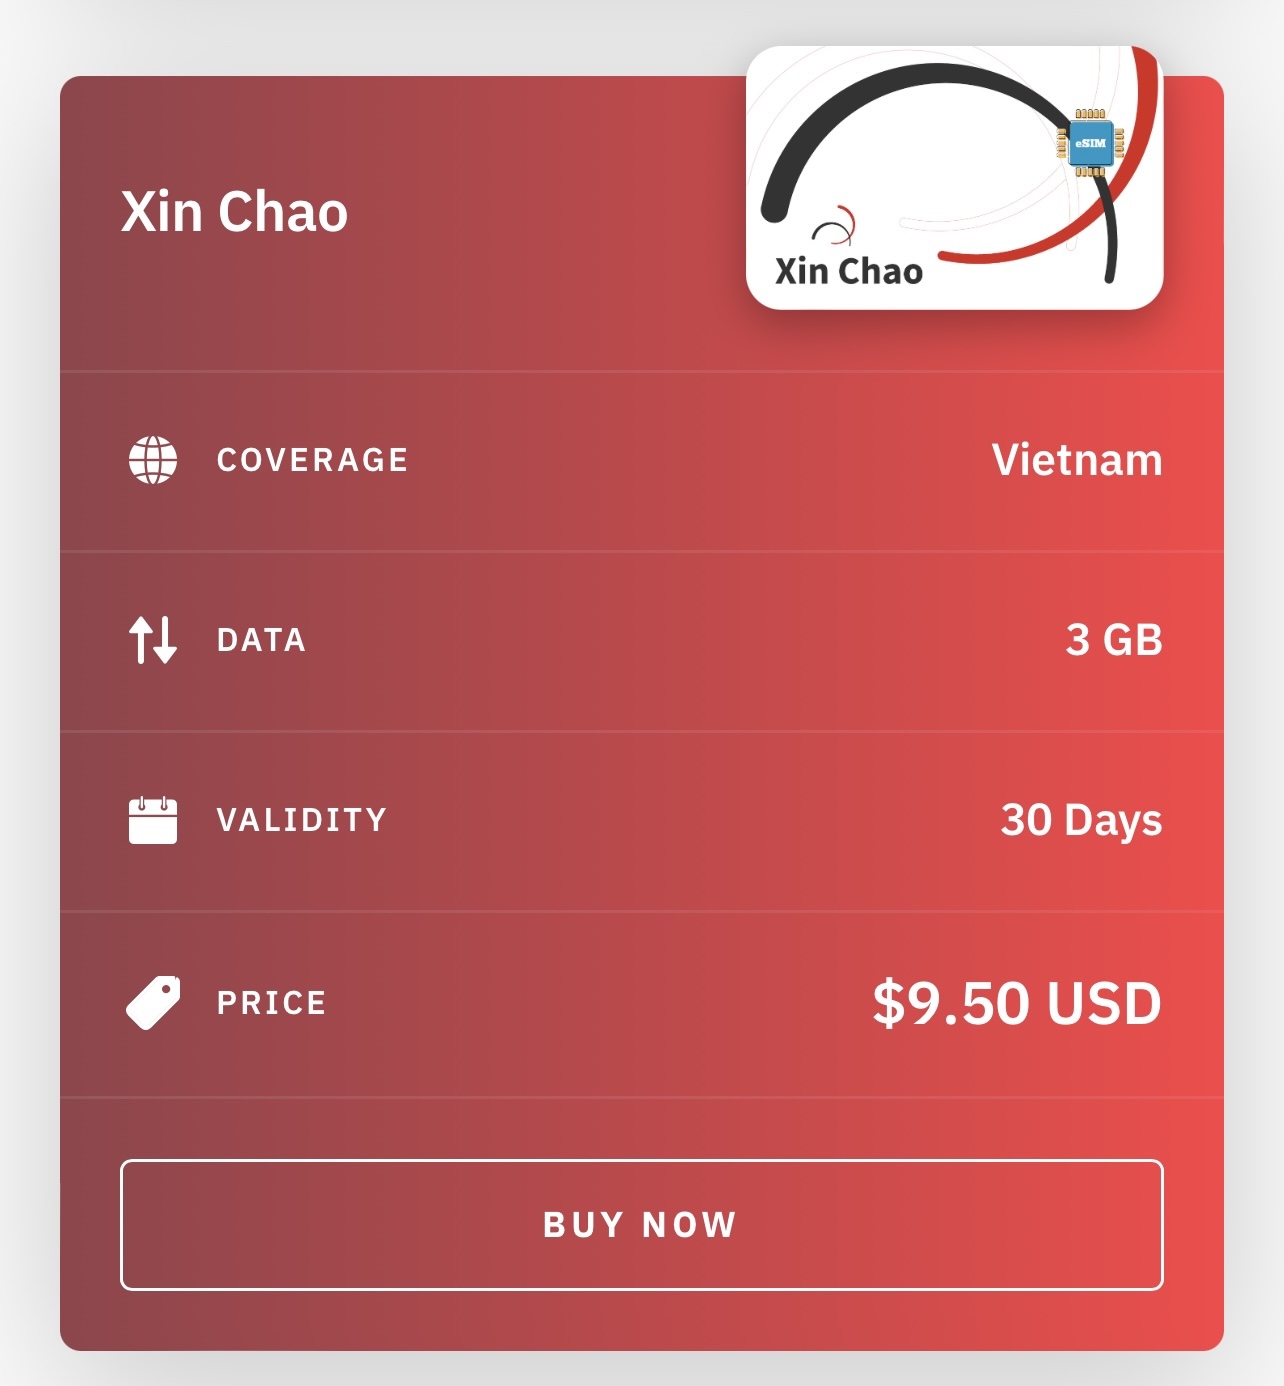

There were more options than this, which included up to 10 and 20 GB (and even unlimited), but for my needs, I settled on 5 GB with the ability to top it off if needed.
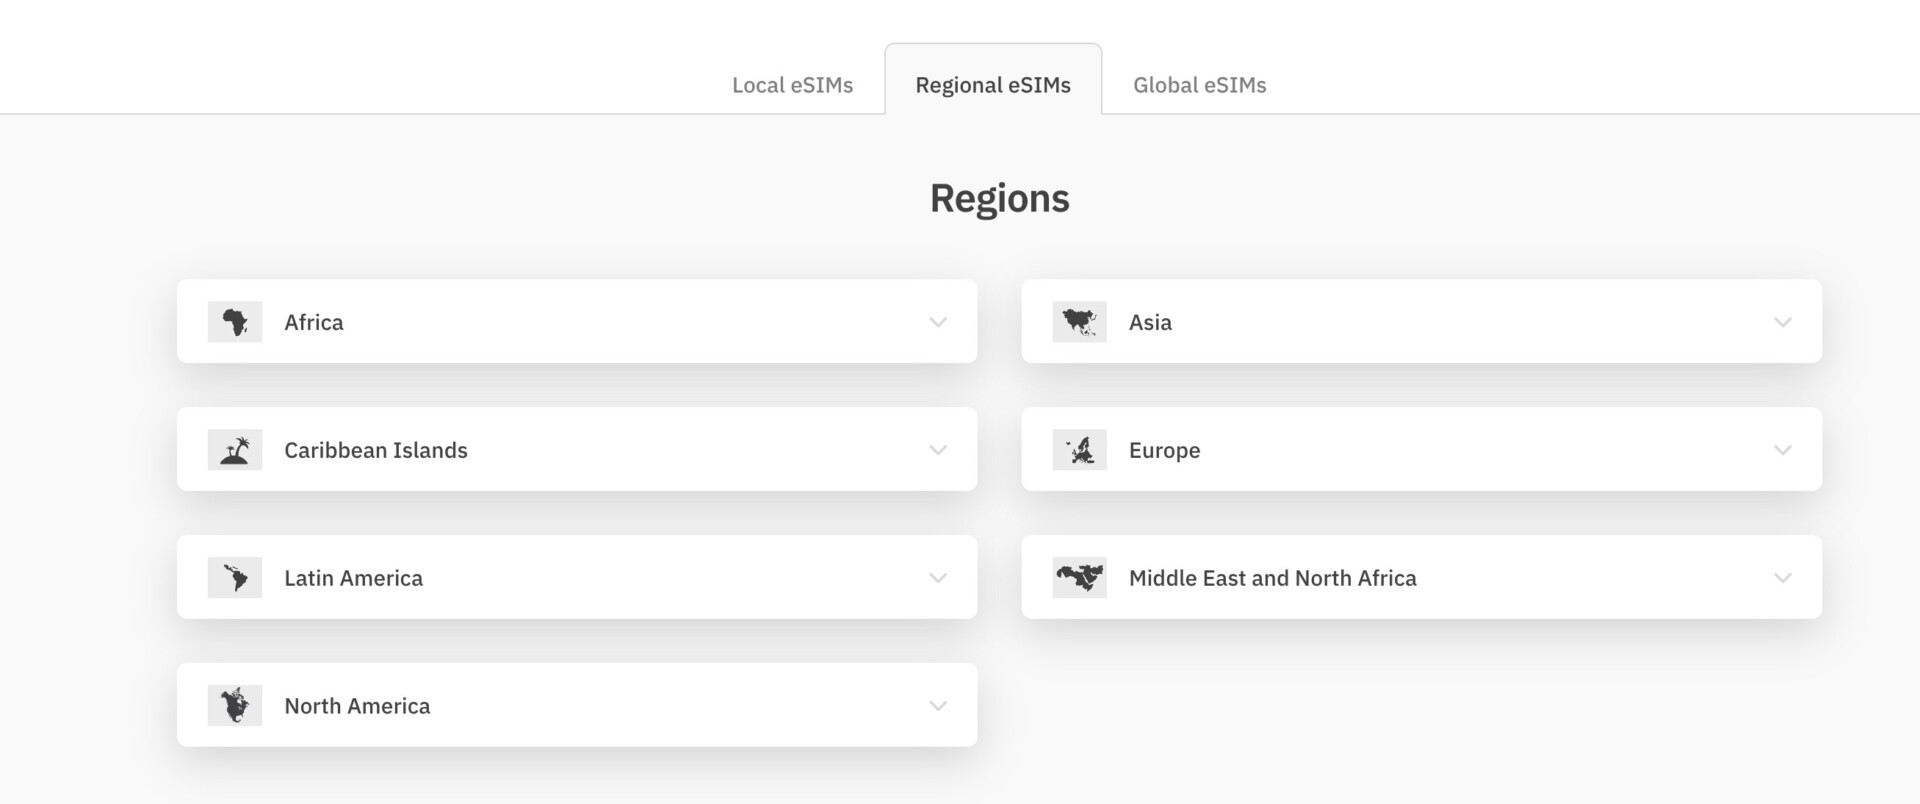
Regional eSIMs
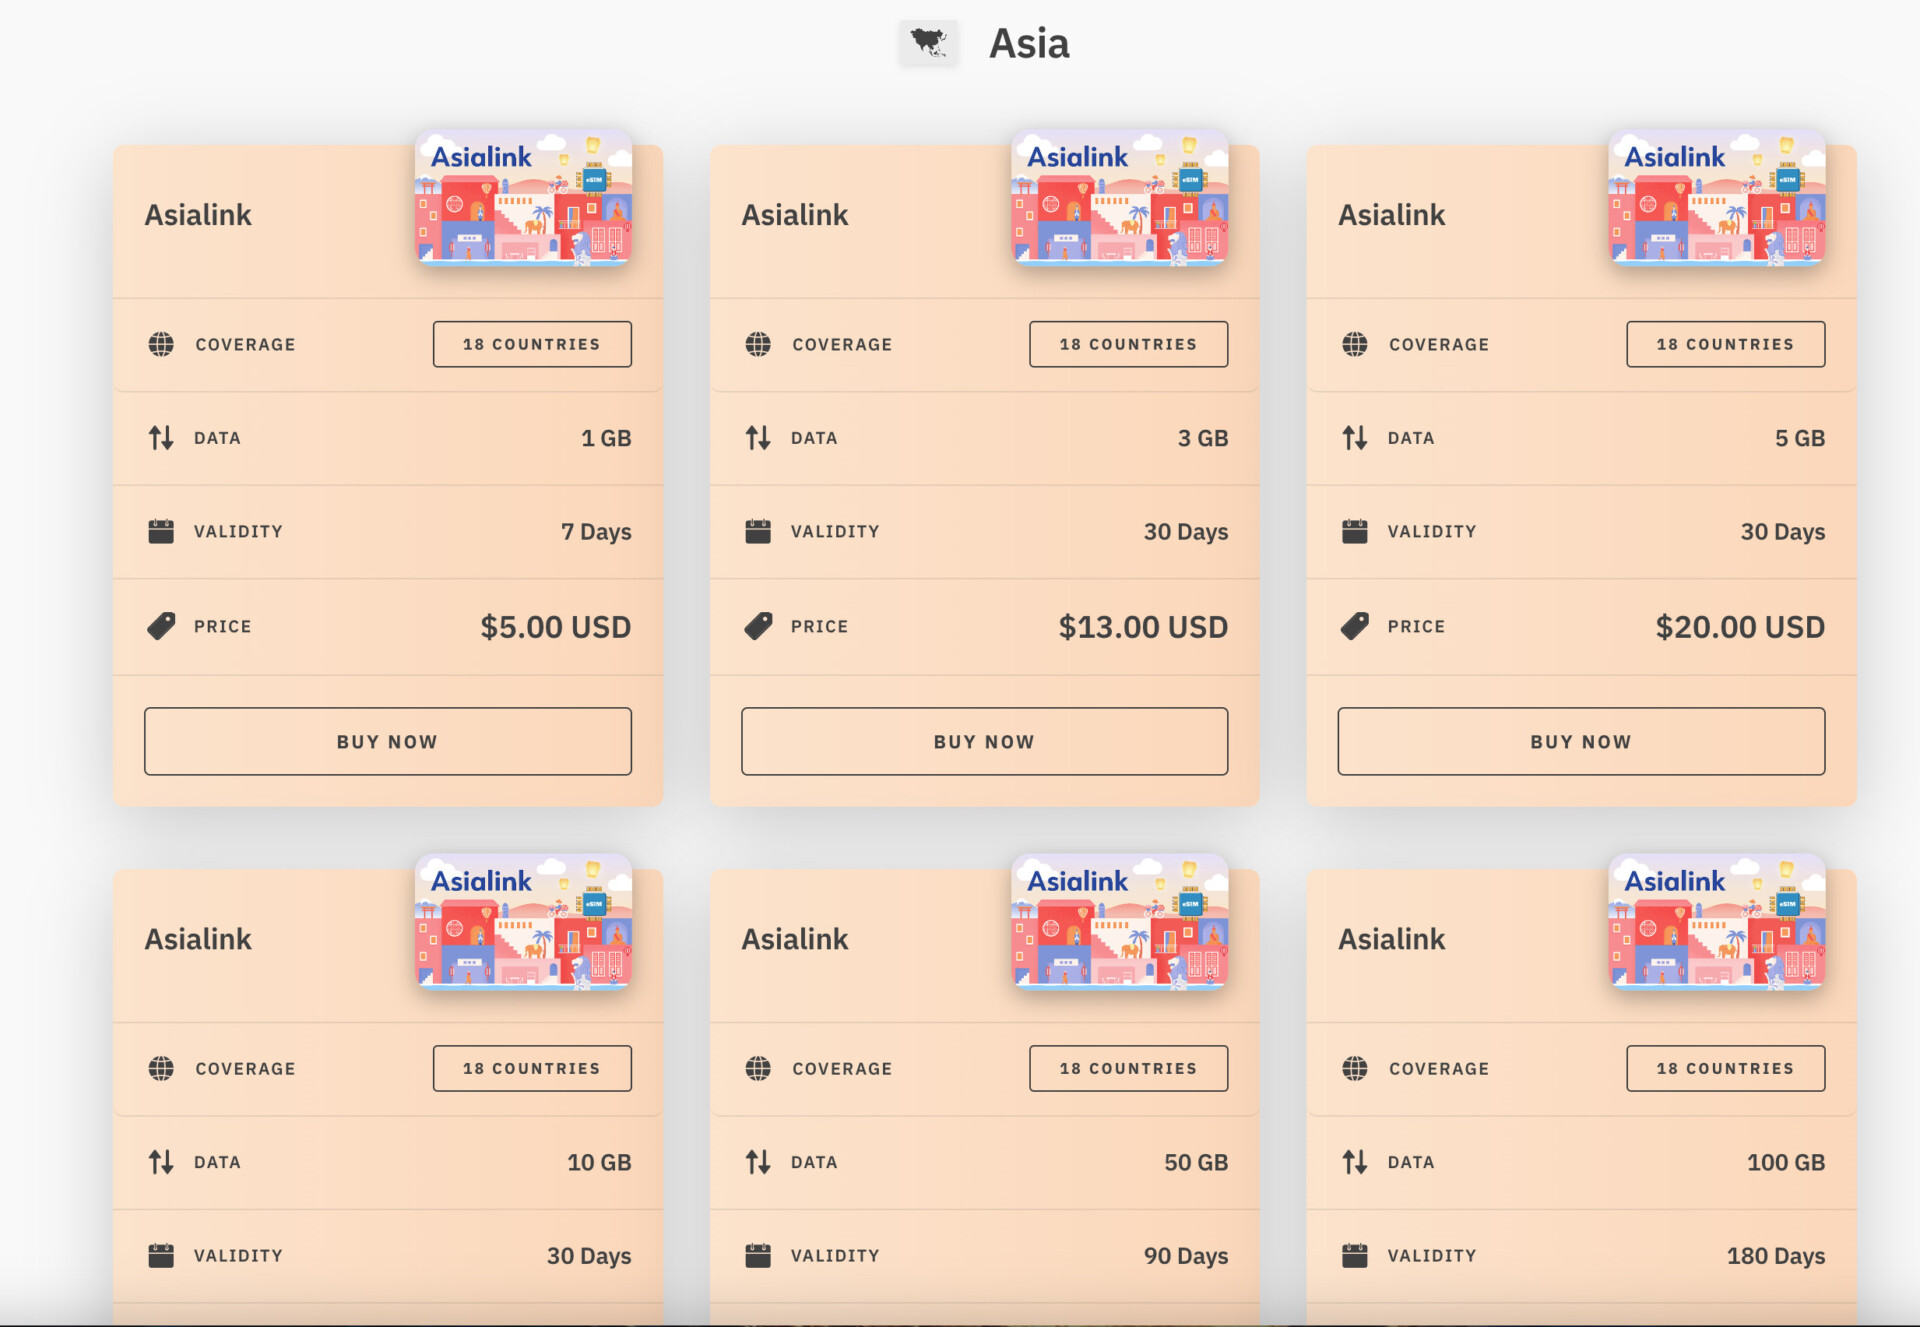
On this trip, Vietnam was my only destination. However, in the past, I’ve crossed numerous borders on one Southeast Asian adventure.
In that case, I would have needed a regional eSIM that could connect to various cellular providers across different countries in a region.
Global eSIMs
As previously mentioned, long before eSIMS existed, I traveled around the world through Oceania, Asia, and South America.
As I went from town to town and country to country with nothing but a guidebook and good vibes, I couldn’t even imagine a world where I could have booked my hostels and activities from inside my pocket and not at an Internet café.
Do you have any idea how much easier the trip would have been if I had access to a global eSIM?
Well, you don’t have to imagine it; you can now live it!
Setup: Where to Begin
After settling on Airalo as the best eSIM choice for my 2-week trip to Vietnam, I turned to the good people at Google and YouTube before starting the setup process.
First of all, the Airalo help center should be able to answer most of your questions to help you get started.
After you have selected your plan, the setup gets a bit more complicated from there, although you don’t need to be too tech-savvy. You just need to be able to follow the directions.
Although the Airalo website and app (you will eventually need to download the application) walk you through the setup pretty thoroughly, I found the following instructional video on YouTube extremely helpful for my setup process.
I’m not affiliated with this YouTuber, but he does a great job of walking you through the setup process, step-by-step.
This old fart (me) figured it out by following his instructions, so I’m betting you can too!
Activating my Airalo eSIM in Vietnam
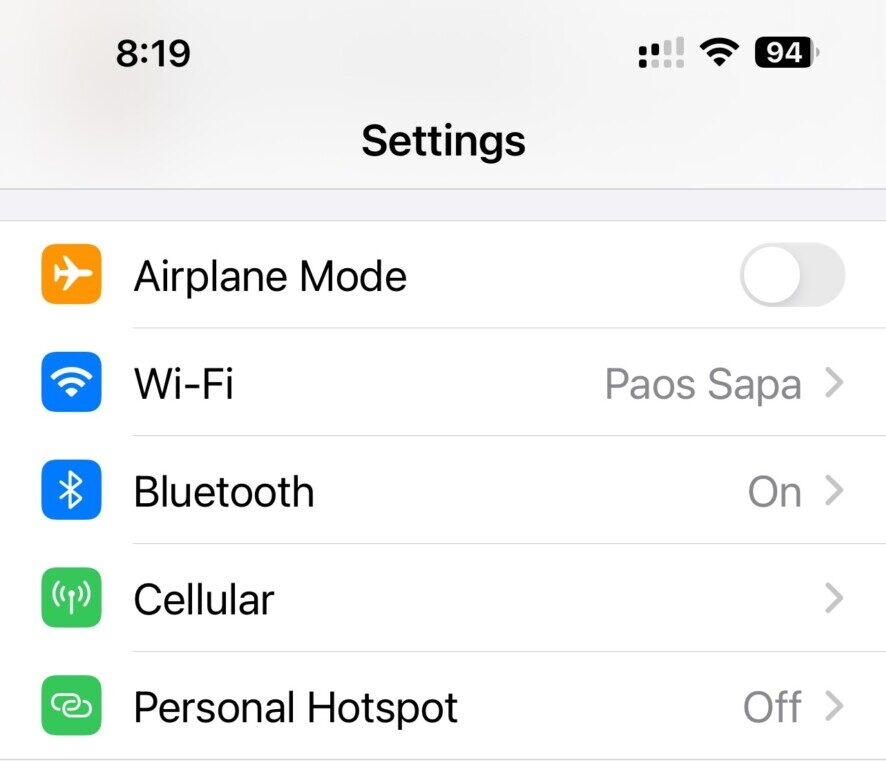
Upon landing in Vietnam, the first step to activating my Airalo eSIM was to open my iPhone’s settings and select the green Cellular option.
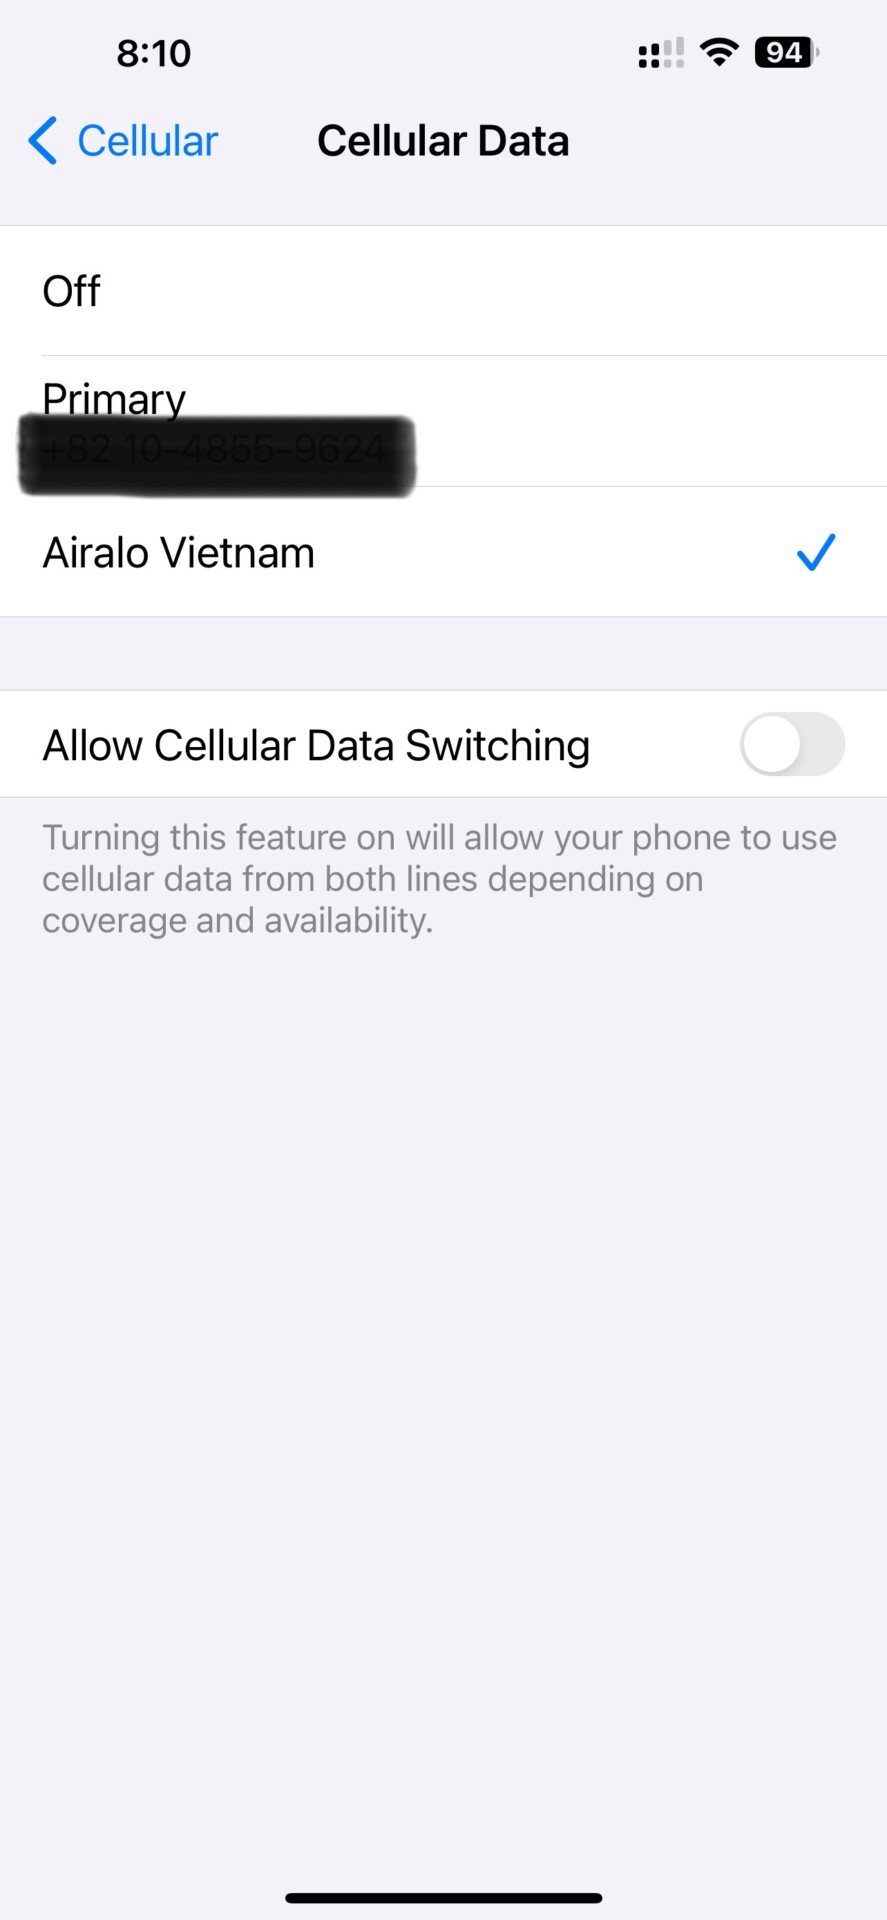
Once inside the Cellular tab, the next step was to switch my Cellular Data from Primary (my home’s plan) to the plan I had named Airalo Vietnam.
It is important to also toggle off the button for Allow Cellular Data Switching, as if it is turned on, you might still connect to roaming on your home plan.
Under SIMs, you also want to make sure that you have the line turned On for your eSIM card. It’s okay to also keep your primary line on, as this will allow text messages and phone calls to still come in.
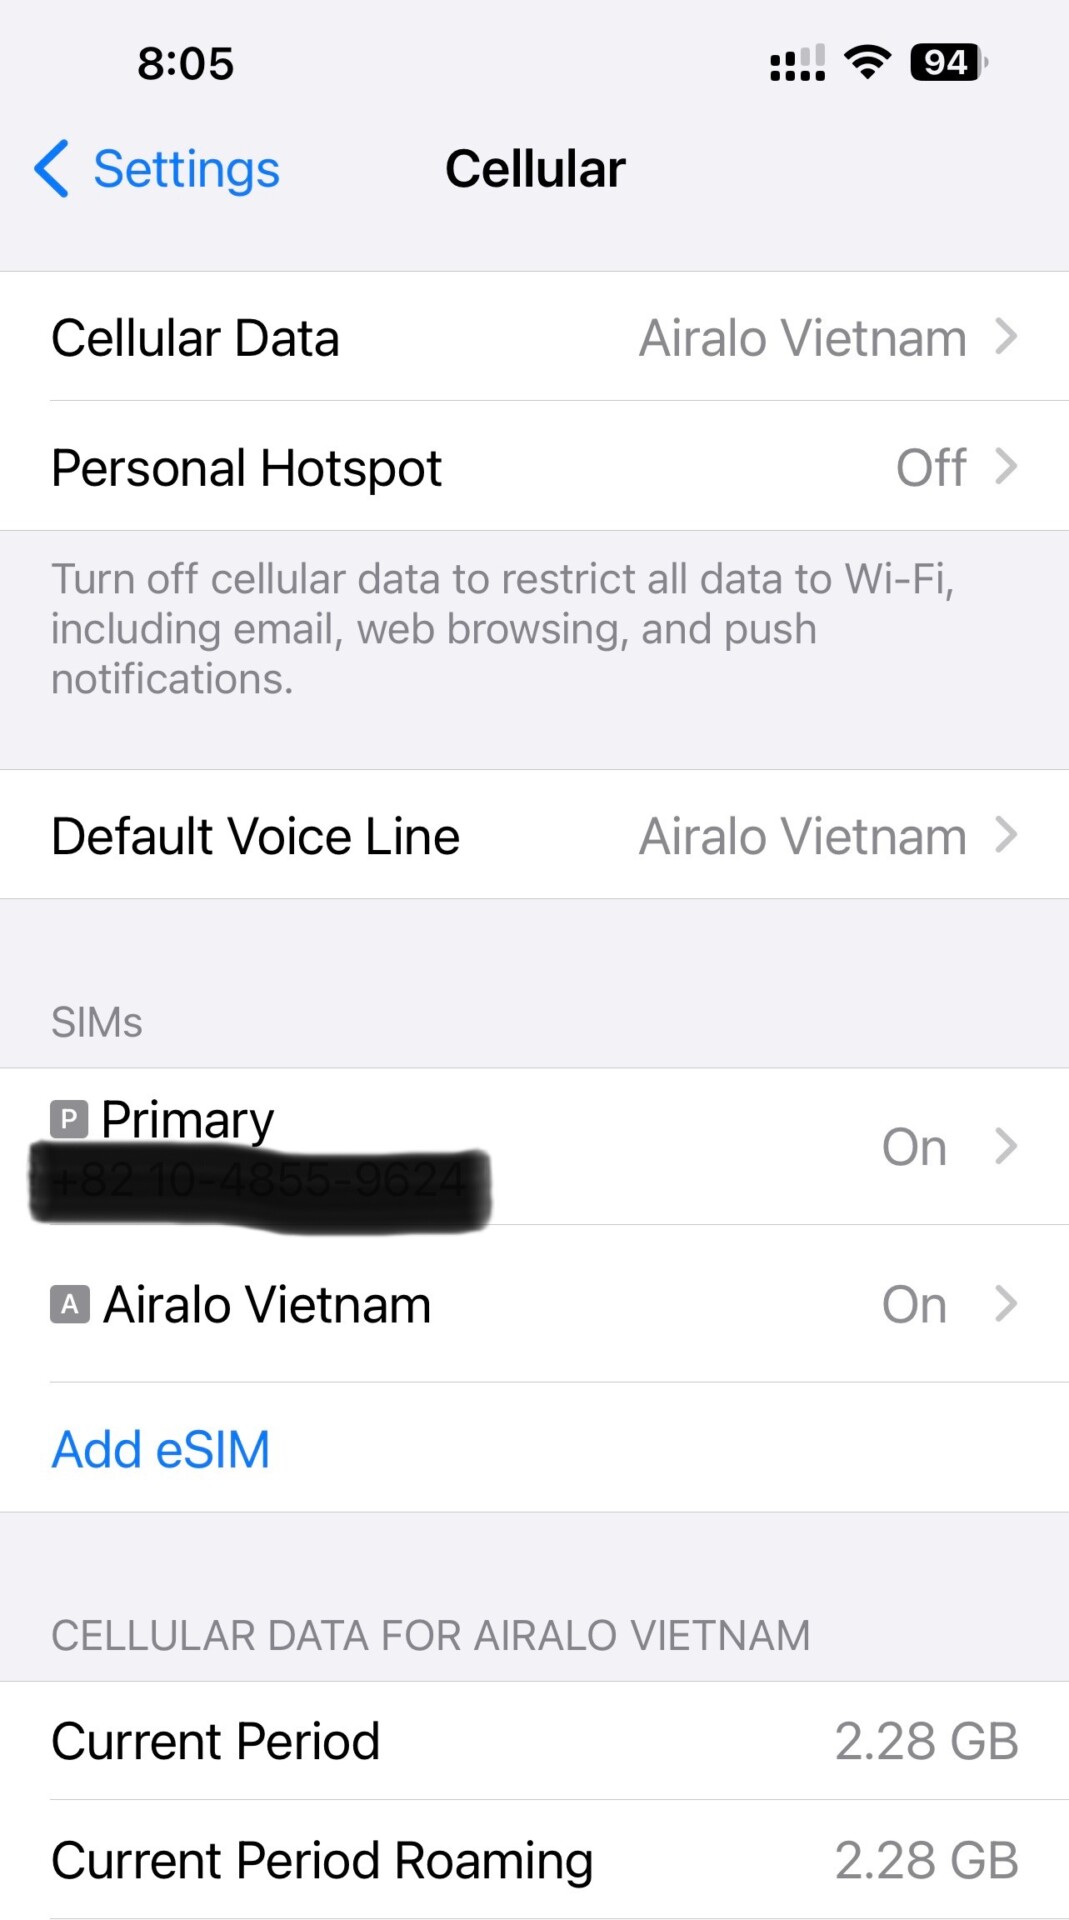
I followed all of these steps while still on the plane; my phone then searched for a moment, and suddenly some strange new symbols (indicating signal strength) appeared at the top of my screen.
Like magic, I was now fully connected to the Internet in Vietnam!
As I sit here writing this today in Sa Pa, I’m about halfway through my journey, and I haven’t had one issue yet with connectivity—at least not one that any normal plan wouldn’t encounter in any country.
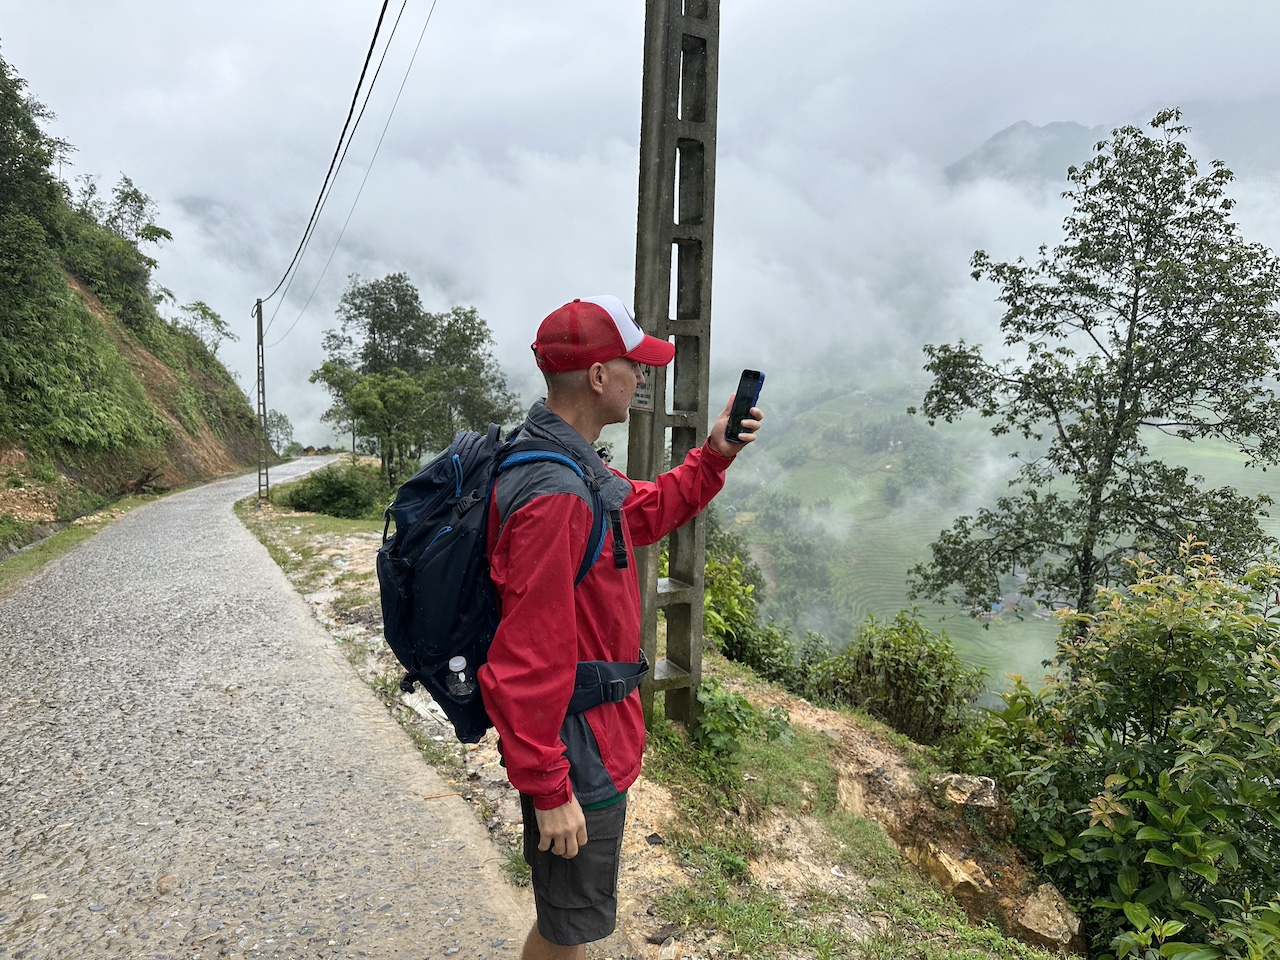
Even above 10,000 feet on Fansipan Peak, I was getting cellular service!
How much data is enough?
This is kind of a difficult question to answer, and one that depends on your personal phone use habits.
Luckily, there is not really a wrong answer, as Airalo allows you to easily top up your plan if you begin to run low on remaining data.
I went with 5 GB for roughly two weeks in Vietnam, and by around day 10, I was beginning to run low.
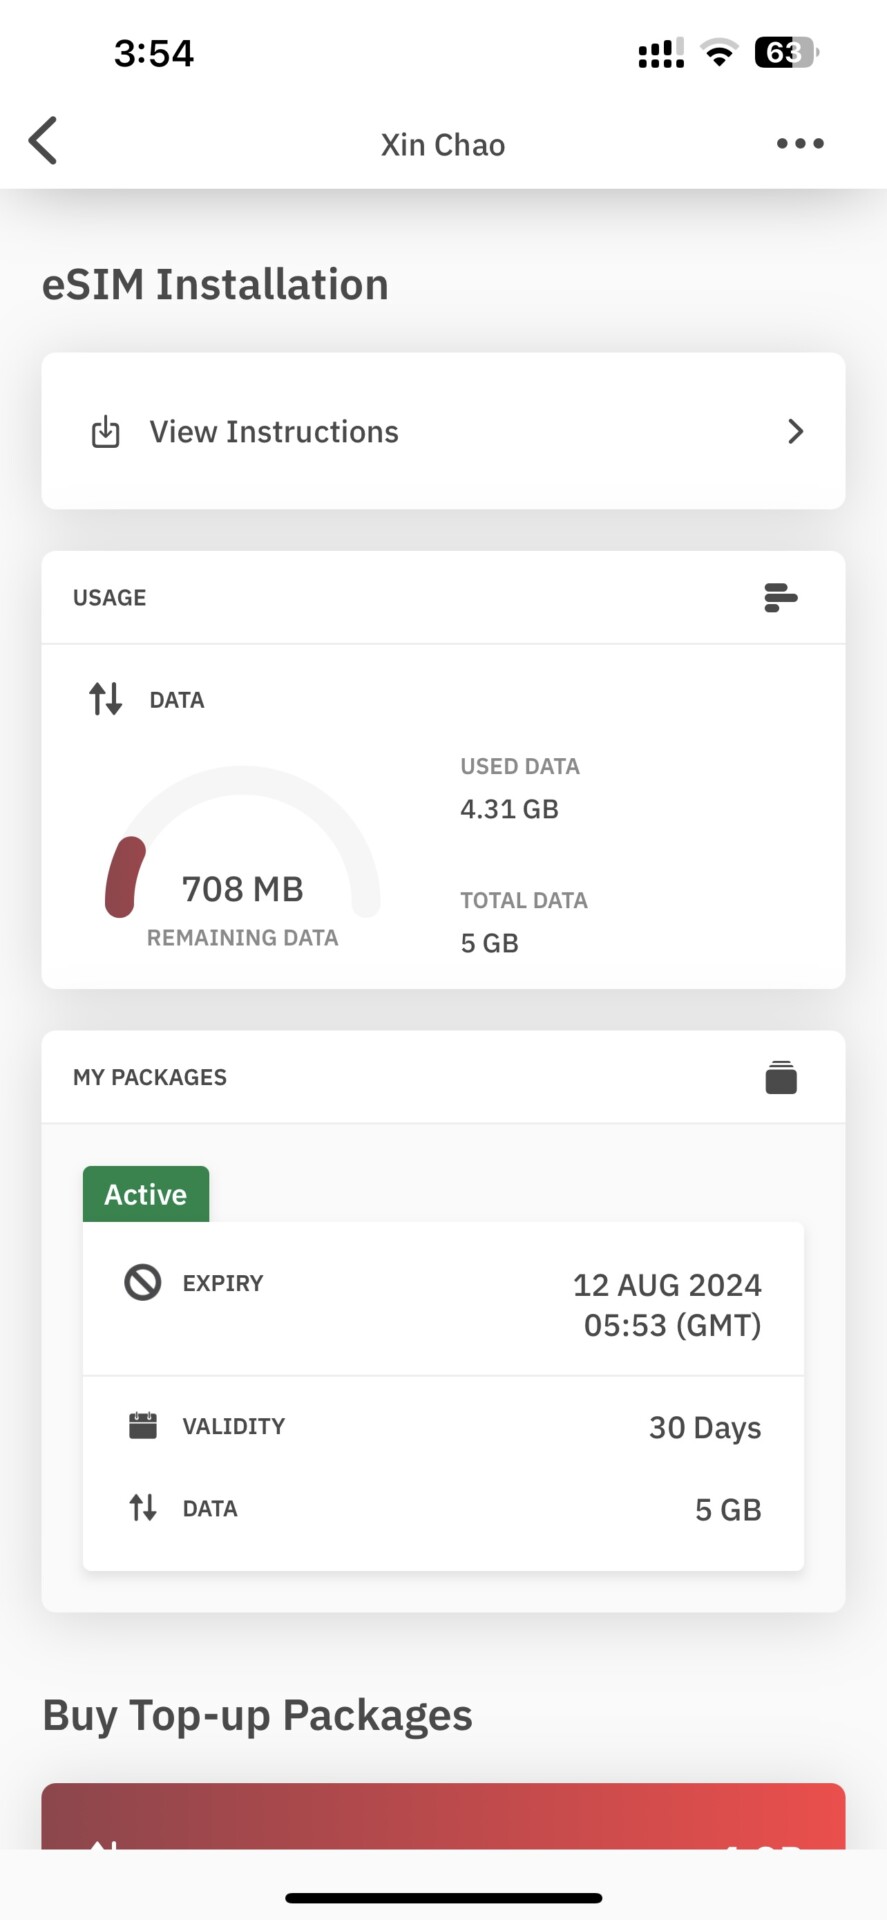
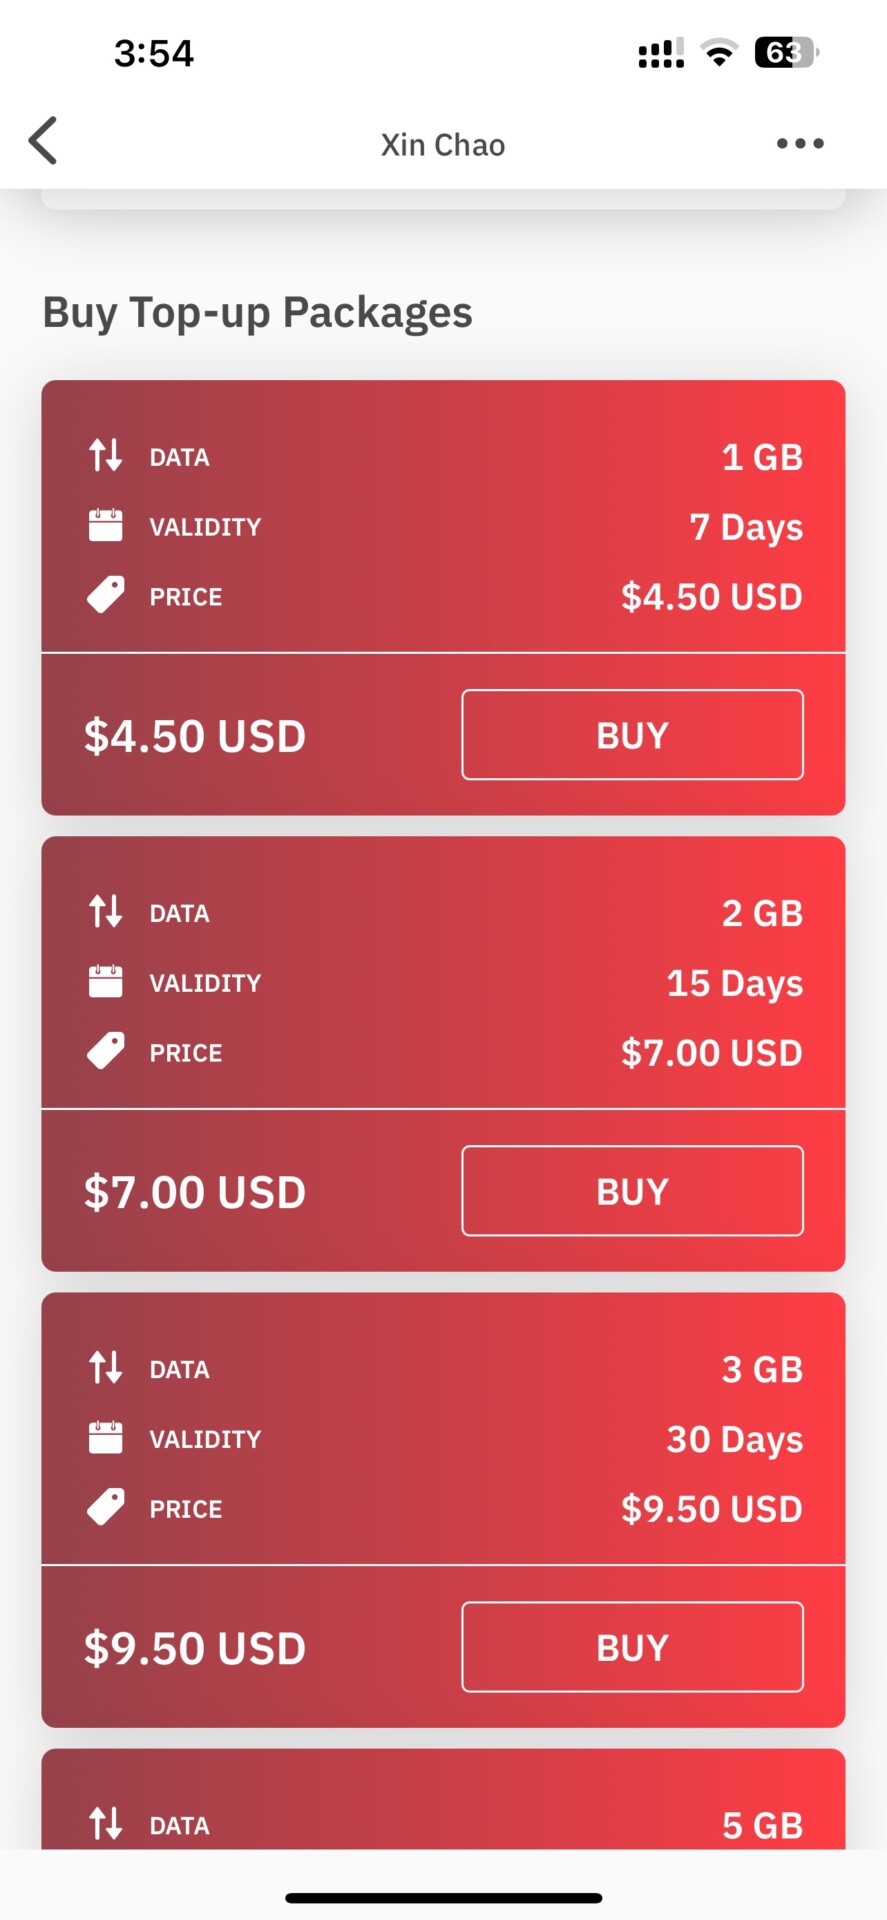
When my plan dropped below 1 GB and I still had 3–4 travel days remaining, I decided to top up my plan with the $7.00 2GB Top-Up Package.
Doing so was very simple using the Airalo app and took just a few minutes.
In choosing your own package, here are a few things to consider:
- Know Your Usage: Start by checking your current data usage. Most smartphones track overall data usage and break it down by app. Look into your phone settings under the “cellular” or “network/internet” section to find this information. On an iPhone, remember to reset the data usage counter to zero at the beginning of your billing cycle for accurate tracking.
- App Data Consumption:
- Streaming Video: Streaming video (like Netflix or YouTube) is data-intensive. Expect around 500 megabytes (MB) per hour for standard definition video.
- Streaming Music: Streaming music (e.g., Spotify) uses less data—around 50MB per hour.
- Social Media and Browsing: Regular social media use and web browsing consume relatively small amounts of data.
- Email and Messaging: These are minimal data consumers.
- Usage Scenarios:
- Occasional Use: If you mainly use your phone for occasional email and social media, 2GB to 4GB per month should suffice.
- Music and Social Media: For Spotify devotees and Instagram fans, consider 3GB to 4GB.
- Video Streaming: If you’re a hardcore streamer (Netflix, HD videos), aim for at least 6GB to 8GB.
- Adjust Settings:
- Wi-Fi: Whenever possible, connect to Wi-Fi to save cellular data.
- App Settings: Some apps allow you to adjust data usage settings. Explore these options to optimize data consumption.
- Revisit Your Plan:
- Regularly review your data plan. If you consistently use less data than your plan allows, consider downgrading to a more cost-effective option.
As mentioned, while traveling, you should still seek to access WiFi, when possible. That will help slow down the draining of your own data.
For me, I think I used the most data while on long-distance buses and when using Google Maps to get around.
5GB wasn’t quite enough for my 13 days of travel, but for a few bucks more, topping up my plan was simple and affordable.
Overall Impressions: My Airalo eSIM Journey in Vietnam
My first eSIM journey from Airalo took me from the bustling streets of Hanoi to serene Ha Long Bay, to the misty mountains of Sapa, where I explored independently and wrote a detailed guide on how to visit without a tour. My trip ended on the beaches of Phu Quoc, Vietnam.
All along the way, I remained connected to high-speed internet, allowing me to research and book tours, accommodations, activities, and everything in between.
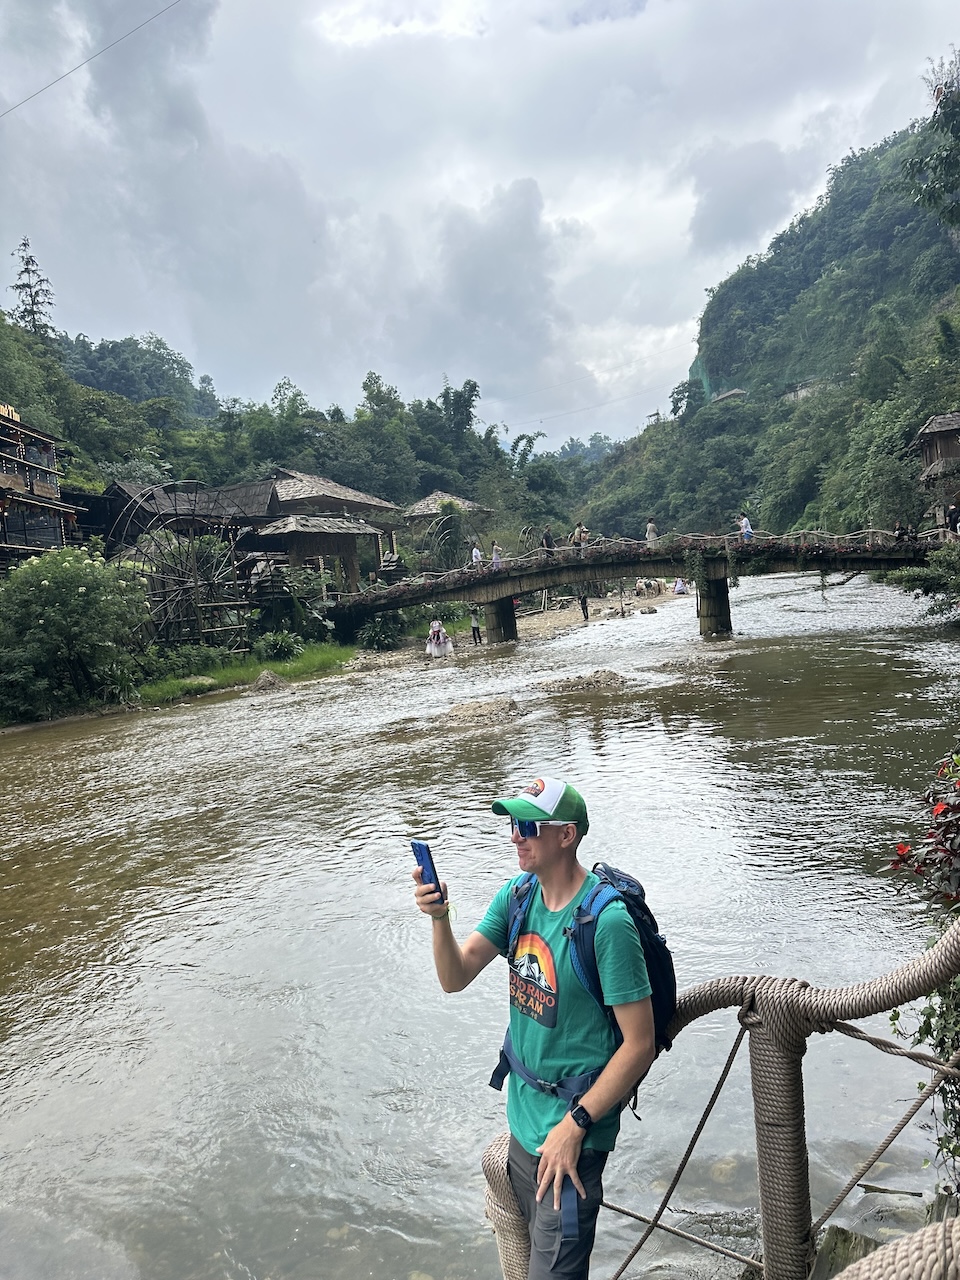
The Airalo eSIM worked flawlessly at high altitudes and in remote villages, allowing me to use Google Maps along the way.
Just as you might find at home, there were short periods of connecting to slower networks like 3G while traveling by bus, but those moments were relatively short.
All things considered, from my experience, I would have no problem recommending Airalo or eSIMs in general to anybody who asked for my advice.
Unless technology changes on us again in the near future, I know that I will certainly be a return customer on my next adventure!
Questions?
If you have questions, please join my free Facebook group and community. It’s a group for like-minded adventurers to discuss hiking, skiing and adventure travel in Asia and Oceania. I’m happy to address any questions you may have in there!


